 Alisha Zulfiqar
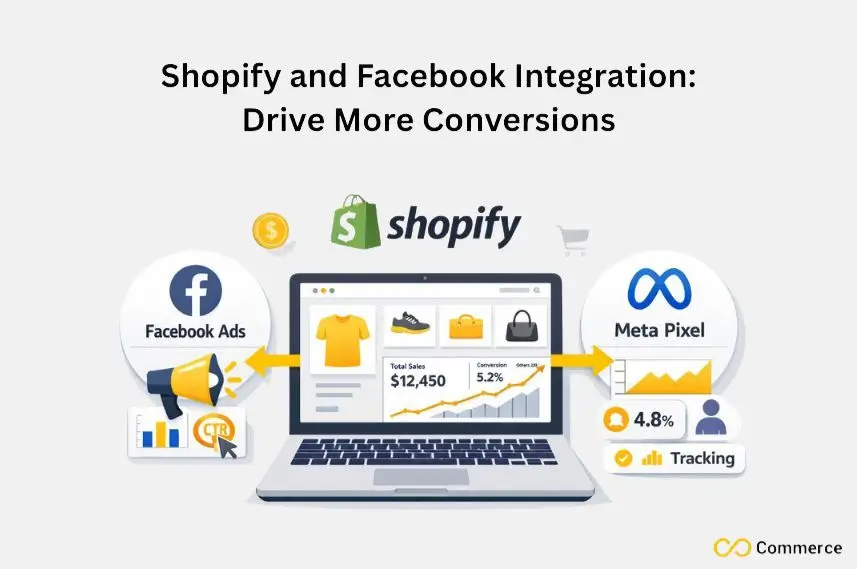
Want to know how Shopify and Facebook Integration can help your store perform better? Connect your Shopify store to Facebook using the Meta Pixel. This lets you target ads better, track customer actions closely, and boost your sales. In this guide, we’ll walk you through each step to set it up easily and get the most out of your online marketing efforts.
Quick Summary
Integrating the Meta Pixel with your Shopify store helps you track customer behavior. It also optimizes Facebook Ads and lets you retarget potential buyers effectively. To set this up, add the Pixel to your online store. Then, configure standard events to track actions like “Add to Cart.” Also, use the Conversions API for better data accuracy. Master this integration to create strong custom audiences. You can also scale using lookalike audiences and boost your return on investment.
Why Meta Pixel is Non-Negotiable for Shopify Success
![]()
To truly grow an e-commerce brand, you need to understand what your customers are doing on your site. The Meta Pixel acts as a bridge between your Shopify store and your Facebook Ads, providing the data needed for smart marketing decisions. Without it, you’re essentially advertising in the dark.
How Does Shopify and Facebook Integration Boost Online Sales?
Integrating Shopify with Facebook connects your online store to Facebook and Instagram. This helps businesses reach a larger audience easily. This integration enables direct product tagging, shoppable posts, and real-time inventory updates. Customers can browse and buy products right on social media. This boosts both sales and engagement.
Critical Benefits for Shopify Store Owners
- Enhanced Conversion Tracking: See exactly how your Facebook Ads translate into sales and other key actions on your Shopify store. This helps you understand which ad campaigns are driving the best results.
- Advanced Ad Targeting: Create highly specific custom audiences based on user interactions. You can retarget visitors who added items to their shopping carts but didn’t buy, or find new customers who resemble your best ones.
- Improved Ad Performance: By feeding data back to Meta, the Pixel helps the algorithm find people who are more likely to take your desired action, which can lower your cost per conversion and improve your overall ROI.
How Do I Set Up Meta Pixel on Shopify?
Setting up your Meta Pixel on Shopify is more straightforward than you might think. Shopify has a built-in integration that simplifies the process, but there are also manual options for those who need more control. Let’s walk through the recommended method first.
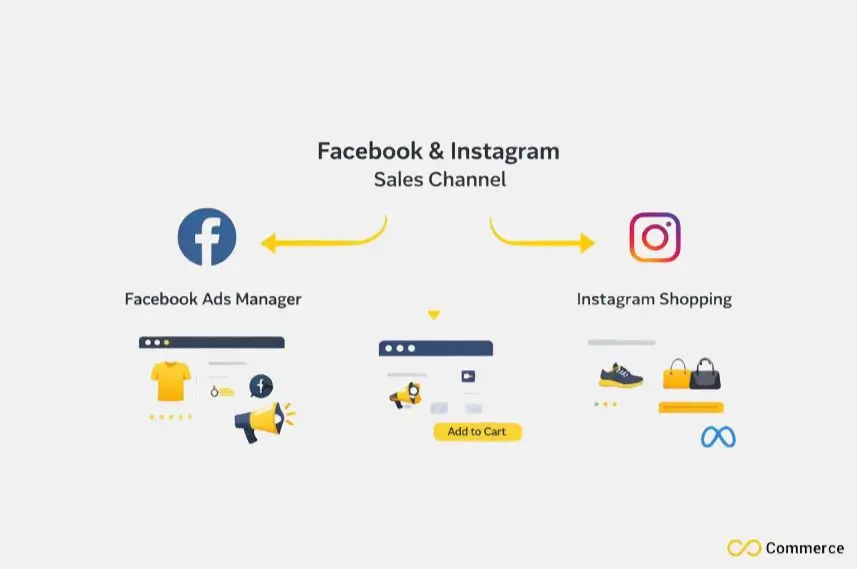
Option 1: The Simplest Way Using the Facebook & Instagram Sales Channel
Shopify’s native integration is the easiest and most reliable way to connect your Meta Pixel. It automatically handles the setup of standard events and the Conversions API.
- From your Shopify admin, navigate to “Sales channels” and add the “Facebook & Instagram” app.
- Follow the setup prompts to connect your Facebook Business Manager and Ad Account. During this process, you will be asked to create a new Meta Pixel or select an existing one.
- Choose your preferred data sharing settings. We suggest choosing “Maximum.” This option uses both browser-based tracking and server-side tracking through the Conversions API. You’ll get the most accurate data this way.
Option 2: Manual Installation (When to Use It)
If you have a custom theme or need special events that aren’t supported, you may choose to install manually. This involves adding the Pixel code directly to your theme’s liquid files.
Use this method if you’re comfortable editing code. It’s great for tracking unique user interactions that standard e-commerce events don’t cover. Manual setup can also be achieved using Google Tag Manager for more complex tracking scenarios.
Verifying Your Pixel Installation
After setting up your Pixel, you must verify it’s working correctly.
- Go to the Events Manager in your Facebook Business Manager. Your Pixel ID should appear with a green dot indicating it’s active.
- Use the Facebook Pixel Helper, a Chrome extension, to see if the Pixel is firing on your Shopify store pages. It will show you which events are being tracked on each page.
- Within Events Manager, use the “Test Events” tool to perform actions on your site (like page views or add to cart) and see if they register in real time.
How Can I Maximize Pixel Event Insights?
![]()
Once your Meta Pixel is active, it starts tracking “standard events”, predefined actions that visitors take on your site. Knowing these events is key. They help measure customer behavior and improve your ad campaigns. This leads to better conversion rates.
Understanding Standard Events for E-commerce Success
For any Shopify store, certain standard events are essential for tracking the customer journey. These include:
- ViewContent: A user views a product page.
- AddToCart: A user adds an item to their shopping cart.
- InitiateCheckout: A user starts the checkout process.
- Purchase: A user completes a purchase.
Custom Events and Custom Conversions
While standard events cover the basics, you may want to track more specific actions. Custom events let you track user actions specific to your business. For example, you can monitor when someone watches a product video or signs up for a newsletter.
From there, you can create Custom Conversions in your Facebook Events Manager. This lets you tell Meta which actions matter most to your business. Then, you can optimize ad campaigns for those outcomes and improve your ad performance.
Mastering the Conversions API (CAPI) for Unrivaled Accuracy
![]()
The digital world is shifting toward greater user privacy, with changes like Apple’s iOS 14+ privacy updates and the rise of ad blockers. These trends can reduce how well browser-based tracking works. So, the Conversions API (CAPI) becomes a key tool.
Why CAPI is Essential in a Privacy-First World
The Conversions API creates a direct, server-to-server connection between your Shopify store and Meta. Server-side tracking is more reliable than browser-based tracking. It isn’t impacted by ad blockers or privacy settings in browsers. This ensures you capture a more complete picture of customer actions.
Setting Up CAPI with Shopify
The good news is that if you used Shopify’s “Facebook & Instagram” sales channel for your pixel integration, the Conversions API is likely already set up for you. During the setup, choosing the “Maximum” data sharing setting enables CAPI automatically. This gives you the best of both worlds without needing to write any additional scripts.
Ensuring Deduplication and Data Integrity
When you use both the Meta Pixel (browser-side) and CAPI (server-side), you’re sending the same conversion events from two different sources. Meta automatically handles deduplication. This way, events aren’t counted twice. Just make sure the event data has the right identifying parameters. This process helps maintain accurate financial reporting and ad performance metrics.
Advanced Audience Building and Retargeting with Pixel Data

Your Meta Pixel data is a goldmine for creating highly effective ad campaigns. By turning insights into audiences, you can reach the right people at the right time.
Building Powerful Custom Audiences from Shopify Data
Custom audiences allow you to target people who have already interacted with your business. Using your Pixel data, you can create powerful audience segments, such as:
- Visitors who viewed a specific product but didn’t add it to their cart.
- Shoppers who abandoned their shopping carts in the last 14 days.
- Customers who made a purchase in the last 180 days.
Scaling with Lookalike Audiences
Once you have a strong custom audience of your best customers, you can create Lookalike Audiences. Meta’s algorithm analyzes the characteristics of your source audience and finds new people on Facebook and Instagram who share similar traits. This is one of the most powerful ways to scale your ad campaigns and find new customers.
Dynamic Retargeting Campaigns for Maximum ROI
Dynamic ads take retargeting to the next level. They automatically show products from your product catalog to people who have previously viewed them on your website. This hyper-personalized approach works well to re-engage interested shoppers. It helps recover lost sales, making it key to successful retargeting strategies.
Final Thoughts
A properly configured Shopify and Facebook integration is your ticket to smarter advertising and sustainable growth. By leveraging the Meta Pixel and Conversions API, you gain the deep insights needed to optimize campaigns, personalize customer experiences, and drive measurable results. Don’t wait to implement these strategies, the impact on your sales and ROI can be significant.
FAQs
Yes, Shopify integrates directly with Facebook through the Facebook & Instagram Sales Channel, allowing you to sync products, run ads, and track conversions using the Meta Pixel.
Connection issues often stem from missing permissions or mismatched accounts. Try reconnecting the Facebook & Instagram channel
Add the Facebook & Instagram Sales Channel in Shopify, connect your Business Manager and Ad Account, then enable Maximum data sharing to activate Pixel and CAPI tracking.
Use the Meta Pixel and Conversions API to measure ad-driven actions like purchases or add-to-cart events. For multi-pixel tracking, try Infinite Facebook TikTok Pixels.
Install the Facebook & Instagram Sales Channel, connect your commerce account, and your Shopify products will automatically sync to Facebook and Instagram with real-time updates.
