 Alisha Zulfiqar
Setting up Facebook Pixel on Shopify is a significant step for your online advertising. It lets you keep track of site visitors and see if they become clients.
Using Facebook Pixel is essential for understanding the behavior of your website visitors. It keeps track of everything, including purchases and page views. You can use this information to improve the effectiveness and focus of your Facebook ads.
This blog post will explain everything about the Facebook Pixel Shopify. We will cover its introduction, which events it tracks, how to install it, and why it matters for store owners. After reading this blog thoroughly, you’ll get the most out of this tracking tool for your business. Now, let’s get started.
What is a Facebook/Meta Pixel?
Facebook Pixel has made it incredibly easy to run Shopify ads on Facebook. It lets you target the proper audience and optimize your ads. It also becomes simpler to examine how customers behave when they visit your store.
You can consider it as a link between your online store and your audience. It gives you insights into how people interact with your site. That way, you can adjust your marketing strategy and improve your ad performance.
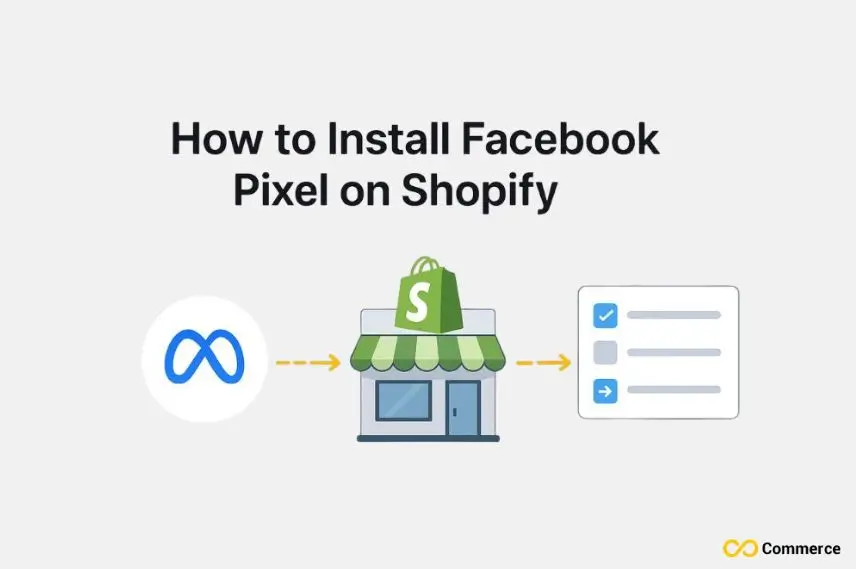
The fb pixel can be added to your Shopify store in a few ways. Every choice aids in visitor tracking and enhances your ads:
Manually Add a Pixel
In this method, you have to copy the Pixel code from your Meta account. Then, you will paste it into your Shopify theme code. This approach provides control but requires some basic coding.
Use Shopify’s Native Integration
In this method, you need to install the official Shopify app through the Sales Channel. It links your store to Instagram and Facebook. This approach requires no coding and is simple.
Use a third-party Shopify App
Another option is to install a third-party app, like Infinite Facebook Pixel. Advanced features like tracking of standard events are available in this app. If you want a lot of features, this is an excellent option for you.
Which Events does Facebook Pixel track?
When a user visits your store, Facebook Pixel quietly tracks what they do. When you connect this fb pixel to your Shopify store, it begins to track several important events like:
- Looking at a product page
- Adding a product to the cart
- Starting the checkout
- Completing a purchase
With the help of all this information, you can clearly see how users navigate your website. You can see what steps they take and where they might drop off.
Installing Facebook Pixel on Shopify Using ∞ Facebook Pixel App:
First of all, log in to your Facebook Business Manager account. Here, navigate to Settings.
Click on Data Sources, and then click on Datasets.

Click on Add to create a New pixel.

Write a Pixel Name and click on Create.

After that, copy the Dataset ID and you will paste it into our app as the FB Dataset ID.

Scroll down and click on Generate Access Token.

After the access token is generated, copy it from here.

After that, move back to the Infinite Facebook Pixel app dashboard.
Here, your first task is to Activate our app in the theme editor.

After activating the app, click on Add Facebook Pixel.

Write the Name of your pixel and insert the Dataset ID here that you took from Facebook Events Manager.

After that, you have to paste the FB Access Token that you also copied from Facebook Events Manager.

Next, scroll down and click on “Copy”, and then on “Customer Events”. It will take you to the Customer Events section in Shopify.

Here, click on “Add Custom Pixel” and enter your pixel name.

Now, click on the Permission section and select the option according to your need. If you select Required, the pixel will gather data according to the consents that clients have given. However, if you choose Not Required, the pixel will run continuously and gather information without consent. Right now, I’ve selected the ‘Not Required’ option.

Next, scroll down and Delete this 7-line code.

Now, Paste the code here that you copied from the infinite app and click on Save.

After that, click on Connect.

Now, come back to the app. Check this Box and Click on Save.

Finally! Your Facebook pixel has been integrated with Shopify using the Infinite Facebook Pixel app!
Why Pixel Matters for Shopify Store Owners?
Let’s say you’ve got your own Shopify store up and running. You’re using Facebook ads to bring in some visitors. But how do you know if those ads are doing anything? Are people clicking? Are they buying? That’s exactly where the Shopify Facebook Pixel steps in. It helps track what’s going on behind the scenes.
It’s just a tiny piece of code you add to your store. Basically, it tracks what people do after they click on your fb ad and land on your site. Did they check out a product? Add it to their cart? Buy something? All of that behavior gets recorded.
Once it’s set up, you don’t have to do much. It runs quietly in the background and gives you all this data you can use to figure out what’s working and what’s not. If one ad is getting a lot of clicks but no one’s buying, maybe it’s not the right fit. Another ad might be bringing in sales like crazy. Now you know where to focus.
But Facebook doesn’t stop with just collecting data. It takes things a step further. It looks at the people who have already bought from you. Then it searches for others who are similar to them. This prevents random people from seeing your ad. Instead, it’s shown to people who are more likely to act, like making a purchase.
That means you’re not just wasting money hoping someone might click. You’re targeting people who behave like your actual customers. It’s smarter, more efficient, and honestly, quite obvious if you’re running paid ads.
FAQs
It’s a small bit of code that you incorporate into your store. It records the actions of users who visit your website after clicking on your Facebook ad. Have users viewed any product? Putting it in their shopping cart? Purchase something? It tracks standard events like these.
1. Log in to your Facebook Business Manager account.
2. Go to the Events Manager section.
3. Click on “Connect Data Sources”.
4. Select “Web” as the data source and then “Meta Pixel.”
5. Enter a name for your Pixel.
To complete the setup, follow the remaining instructions.
The Facebook Pixel can be added to Shopify in a few ways. You can insert the code manually if you want more control. You can use the Facebook & Instagram app for an easy setup. Also, you can install a third-party app like Infinite Facebook Pixel if you want advanced tracking features.
You can check your Facebook Pixel using the Meta Pixel Helper Chrome extension. You can also use the Test Events tool in Facebook Events Manager to see real-time tracking. Another option is reviewing event activity in the Data Sources section to confirm everything works correctly.
Follow these steps to add fb pixel to Shopify manually:
1. Go to Meta Events Manager > Connect Data Sources > Web > Meta Pixel.
2. Name your Pixel, enter your Shopify URL, and click Continue.
3. Choose “Install code manually” and copy the entire pixel snippet.
4. Go to Shopify Admin > Online Store > Themes.
5. Click Actions > Edit Code on your active theme.
6. Open the theme.liquid file inside the Layout folder.
7. Paste the copied pixel code just before the closing </head> tag.
8. Click Save to apply changes.
9. Verify using the Meta Pixel Helper browser extension.
