 Amber Naz
Quick Summary
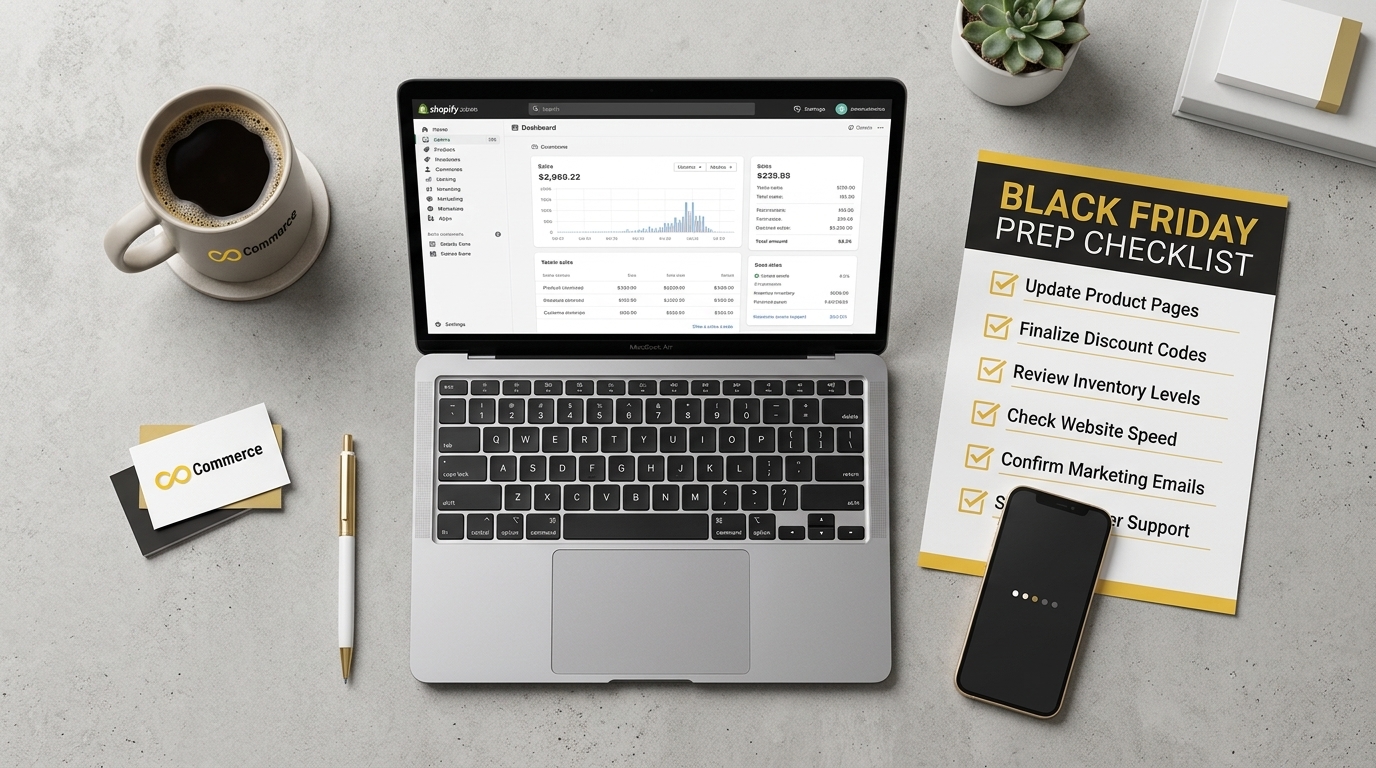
Black Friday gives you roughly four weeks of prep time to get your store dialed in. This prioritized Shopify Black Friday checklist covers the eight critical areas of your store, ranked from revenue protection to final execution, so you can focus on what matters most before time runs out:
- Accurate purchase tracking (the most skipped step, essential for measuring ad spend)
- A tested checkout and payment flow
- Correct inventory and discount rules
- Fast, mobile-friendly pages
- Ad feeds and audiences
- Email and SMS schedules
- A support plan
- A change freeze a few days before the sale
Work through this Shopify Black Friday checklist top-to-bottom and stop when you run out of time. The first three sections matter most.
Why does a Shopify BFCM checklist matter?
BFCM (Black Friday Cyber Monday) is the one weekend where small problems get expensive. A broken discount code, a slow product page, or a purchase event that doesn’t fire costs you more in four days than it would in a normal month.
Most of these problems are found in October, not during the sale. Stores that find them mid-sale are fixing things while traffic and ad spend are both at their highest.
There is also a data reason to prepare. Ad platforms learn from the conversions you send them. If your purchase tracking is wrong during your biggest sales weekend, your campaigns optimise on bad data, and you can’t tell which ads worked afterwards.
Shopify Black Friday preparation: a four-week timeline
Here is a simple schedule. Adjust it to your team size.
| When | Focus |
| Now to Nov 6 | Tracking audit, product and inventory cleanup |
| Nov 9 to Nov 13 | Checkout and payment tests, site speed fixes |
| Nov 16 to Nov 20 | Ad feeds, audiences, email and SMS scheduled |
| Nov 21 to Nov 25 | Final test orders, change freeze, support briefing |
| Nov 26 to Dec 1 | Monitor daily, fix only critical issues |
The rest of this guide follows the same order.
The Shopify Black Friday checklist, step by step
Step 1: Fix your conversion tracking first
Why does accurate conversion tracking matter?
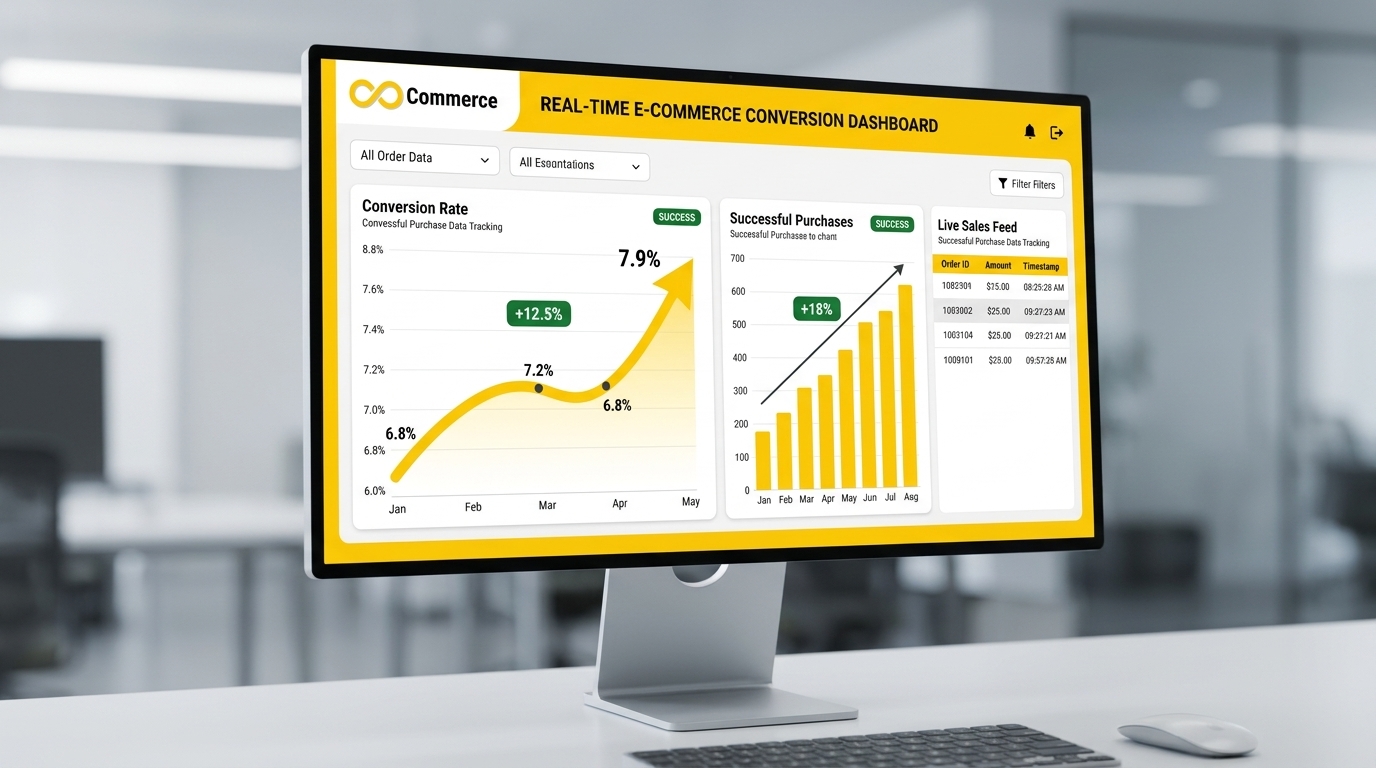
Conversion tracking tells Google Ads, Meta and other platforms which clicks became sales. Bidding systems use that signal to decide where your money goes.
If the purchase event is missing, fires twice, or sends the wrong value, three things go wrong:
- Reported ROAS is wrong, so you scale the wrong campaigns.
- Automated bidding learns from bad data.
- You can’t compare channels fairly after the sale.
Do this before you build any offers, because everything else is judged by it.
What do you need before you start?
- Admin access to your Shopify store
- A Google Ads account, with access to create or view a conversion action
- Your Google Ads conversion details, or a Google Tag Manager container if you use GTM
- A list of every tracking tag already on the store, so you don’t track twice
- About 30 minutes for setup and another 30 for testing
Check your existing setup first. Many stores already have a Google or Meta tag from an older app, a theme edit, or a previous agency. Remove duplicates before adding anything new.
Route 1: set it up manually with Google Tag Manager
This route gives you full control but needs more care. The outline below is general, and every step should be checked against current official documentation before you publish.
- Create a GTM container for your store at tagmanager.google.com.
- Add the container to Shopify. Shopify has changed how scripts can be added to checkout, so check which method is currently supported, such as custom pixels under Customer events.
- Create a Google Ads conversion tag in GTM using your conversion details.
- Set the trigger so the tag fires on the purchase event only, not on every page.
- Pass the order value, currency and transaction ID so Google Ads can report revenue accurately and avoid counting the same order twice.
- Test in GTM preview mode, then publish the container.
The common pitfall is step 2. A tag that is installed but never receives the purchase event looks fine in the container and records nothing.
Route 2: use the Infinite Google Ads Tracking & GTM app
If you’d rather not manage tags by hand, an app handles the setup. The Infinite Google Ads Tracking & GTM app connects Google Ads and Google Tag Manager to your Shopify store without code. According to the app page, setup takes four steps:
- Find “Infinite Google Ads Tracking & GTM” in the Shopify App Store and click Add app.
- Authorise the installation.
- Enter your Google Ads Conversion ID or your GTM Container ID.
- Click Connect.
After that, the app tracks page views, add to cart, begin checkout and purchase events. You can use Google Ads tracking and GTM at the same time. If you do, make sure the same purchase isn’t counted by both.
Plans are priced monthly in USD, and each has a 7-day trial:
- Standard ($9.99): one Google conversion tracking, GTM integration, and the four events above.
- Premium ($19.99): adds multiple conversion tracking, Bing and GA4 integration, unlimited server-side setup and Enhanced Conversion.
- Shopify Plus ($29.99): adds Checkout Extensibility and a dedicated support agent.
If your store is already set up on Google Ads and you only need a reliable purchase event, Standard covers it. If you run Bing or GA4 alongside Google, look at Premium. There is also a separate Facebook and TikTok pixel app if Meta and TikTok are part of your Black Friday mix.
How do you test that the purchase conversion fires?
Don’t trust a setup until you’ve watched it work. Run this test at least a week before the sale:
- Open GTM preview mode or Google’s Tag Assistant and load your store.
- Add a product to your cart and go through checkout. Use a real low-value order, or a test payment method if your gateway supports one.
- Watch for the purchase tag when the order confirmation appears. It should fire once.
- Check the details it sends: order value, currency and transaction ID should match the order in Shopify.
- Reload the confirmation page. The tag should not fire a second time for the same order.
- Check Google Ads. Open your conversion action and confirm it shows as recording. Allow time for data to appear.
- Repeat on a phone. Many Black Friday orders are mobile, and tracking can fail there while working on desktop.
After a few days of real orders, compare Shopify’s order count with Google Ads conversions for the same period. A small gap is normal. A large gap means something is broken.
What are the most common tracking mistakes?
- Double counting. A theme script, an old app and a new app all firing the same purchase event. Audit and remove duplicates before the sale.
- Wrong or missing value. The conversion fires but reports zero or the wrong currency, so ROAS looks broken.
- Firing on the wrong event. A tag set to fire on page view or add to cart instead of purchase.
- Testing only on desktop. Always test on a real phone too.
- Ignoring consent settings. If you serve customers in regions with consent requirements, tags may be blocked until a visitor consents, which lowers recorded conversions.
- Changing tracking during the sale. Make tracking changes by the freeze date, not after.
If your Meta pixel is also acting up, this guide to fixing the Facebook pixel on Shopify walks through the usual causes.
Step 2: Test checkout and payments
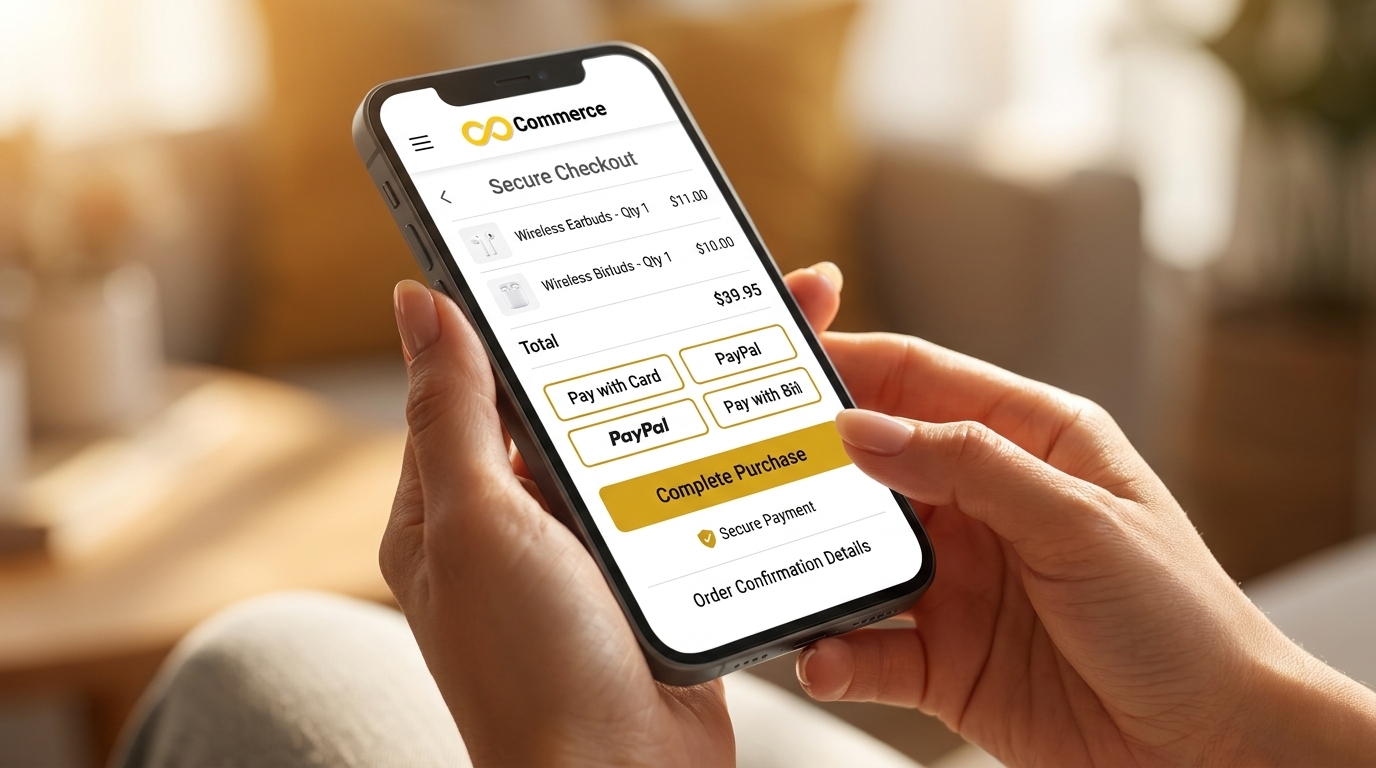
Place at least three test orders: one on desktop, one on a phone, and one using a discount code. Check every part of the flow:
- Shipping rates and delivery estimates show correctly for your main regions.
- Taxes calculate as expected.
- Every payment method you advertise actually appears at checkout.
- Order confirmation emails arrive, with correct totals.
- Express payment buttons work if you offer them.
If your payment gateway places limits or holds on sudden high-volume activity, contact them before the sale rather than during it. Have a backup payment method ready if your main one fails.
Step 3: Check inventory, products and discounts
Most Black Friday customer complaints come from products that are sold out but still listed, or from discounts that don’t apply.
Inventory
- Count your stock for sale items and make sure the numbers in Shopify match the shelf.
- Decide in advance what happens when an item sells out: continue selling, hide it, or show a waitlist.
- Check bundles and variants. A bundle can show as available when one component is gone.
Discounts
- Create every code and automatic discount now, then test each one.
- Check for conflicts. Two discounts stacking when they shouldn’t can wipe out your margin in a few hours.
- Set start and end times carefully, including time zones.
- Put exclusions in writing for your team: which products, collections or customers are not part of the sale.
Product pages
- Update titles and images for sale items so they match the offer.
- Add clear shipping cut-off dates for holiday delivery.
- Check your returns policy wording for sale items.
Step 4: Speed up your key pages
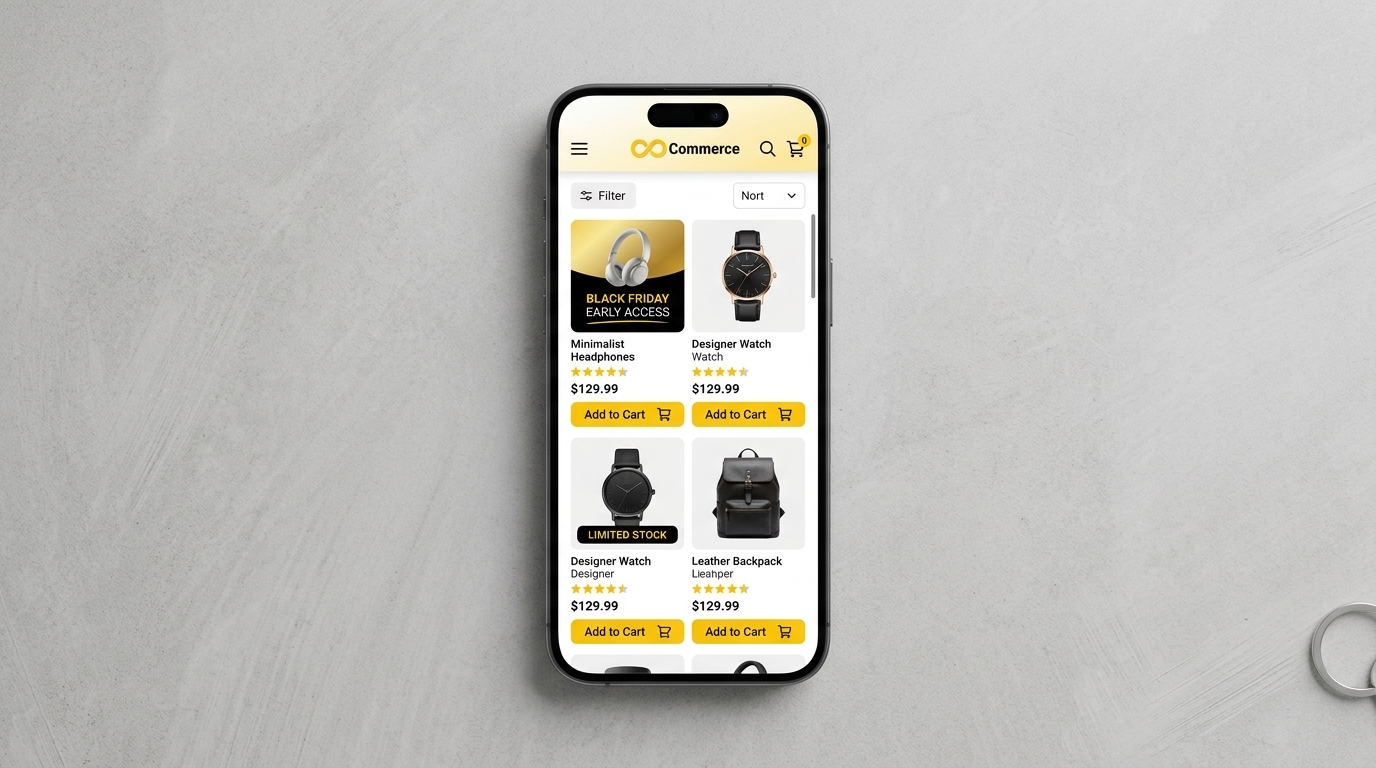
Shoppers on Black Friday leave quickly if a page is slow. You don’t need a full rebuild. Fix the pages that matter:
- Check your homepage, top collection pages and best-selling product pages on a phone using a real connection, not just a speed tool.
- Compress large images. Hero banners are the usual culprit.
- Remove apps you no longer use. Old apps often leave scripts running on every page.
- Don’t add heavy new sections in the last week.
Heatmaps help here because they show where mobile shoppers tap and where they stop scrolling. The Microsoft Clarity and Heatmap app is one option. Look at a week of normal traffic now, and fix the biggest drop-off before the sale.
Step 5: Get your ads, feeds and audiences ready
Black Friday ad costs usually rise, so poor setup costs more. For this black friday checklist for ecommerce stores running paid traffic:
- Product feeds. Make sure prices, sale prices and availability in your catalog match your store. Mismatches can get products disapproved, which stops them showing right when you need them.
- Audiences. Build or refresh retargeting audiences from your recent visitors and past buyers so they are populated before the sale starts.
- Creative. Load sale ads and schedule them. Prepare a version for the “sale is almost over” moment on Cyber Monday.
- Budgets. Decide your daily caps in advance and who is allowed to change them.
- Conversion goals. Check that the purchase action you tested in Step 1 is the one your campaigns optimise for.
- If you advertise on Meta, the Facebook Feed Catalog app is Infinite Commerce’s option for keeping your catalog connected. There is also a TikTok Catalog Feed app and a Microsoft Shopping Feed app.
Step 6: Schedule email, SMS and on-site messages
Your own list is the cheapest traffic you’ll get. Plan the messages now so you aren’t writing copy at midnight:
- An early-access or teaser message a few days before the sale
- A launch message on the day
- A mid-sale reminder
- A “last chance” message for Cyber Monday
- A short abandoned cart follow-up, if you don’t already have one
Check that each message links to the right collection or discount, and that the offer text matches what your store actually does. A mismatch between the email and the checkout is the fastest way to lose trust.
Step 7: Prepare your support and operations
Support volume goes up quickly during BFCM. Expect questions about shipping times, discount codes and order changes.
- Write short answers for the ten most likely questions and save them for reuse.
- Update your shipping and returns pages with holiday dates.
- Decide who covers support each day, including the weekend.
- Brief your fulfilment partner on expected volume, and confirm their holiday cut-off dates.
- Agree on who can make emergency changes and who needs to approve them.
Step 8: Freeze changes, then monitor
A few days before the sale (a good target is November 24 or 25), stop making changes. No new apps, no theme edits, no new tracking. Every late change adds risk that you won’t have time to test.
During the sale, check these each morning and evening:
- Orders are coming in at the rate you’d expect from your traffic.
- Your tracking dashboard shows purchases recording.
- No product is selling below a price you meant to charge.
- Support inbox and ad accounts have no urgent issues.
Keep a simple log of anything you change and when. It makes the post-sale review much easier.
Final Shopify BFCM checklist (copy and use)
- Purchase conversion tested on desktop and mobile
- No duplicate tracking tags on the store
- Three test orders completed, including one with a discount
- Payment methods and shipping rates verified
- Inventory counts match the warehouse
- All discount codes tested, with no unwanted stacking
- Homepage, collections and top products checked on a phone
- Product feeds match store prices and stock
- Retargeting audiences built
- Email and SMS scheduled
- Support answers written and cover scheduled
- Change freeze date set and communicated
- Daily monitoring owner assigned
Conclusion
Preparing your Shopify store for BFCM doesn’t have to be overwhelming if you stick to a systematic approach. By protecting your revenue channels first, testing your user experience, and enforcing a strict change freeze before traffic spikes, you’ll safeguard your conversions and maximize your seasonal ROI.
Ready to Scale Your Store?
Need expert guidance, custom ecommerce optimization, or professional support to get your storefront fully prepped for the holiday rush?
- Explore our services and solutions: Infinite Commerce
- Have questions or need a custom strategy? Contact Us (or drop us a message directly via our website).
FAQs
Start four to six weeks before. Tracking and checkout fixes take the longest to notice and the most time to test, so do them first. If you’re reading this in late October, you still have time to cover the essentials.
Check that your purchase conversion records correctly. Without it, your ad platforms can’t optimise and you can’t tell which campaigns worked. After that, test checkout and discounts, since those directly affect whether orders complete.
Place a real or test order while watching the tag in GTM preview mode or Tag Assistant. Confirm the purchase tag fires once, with the right value, currency and transaction ID, then check Google Ads for the conversion.
BFCM stands for Black Friday Cyber Monday. It refers to the whole sales weekend, from Black Friday through the following Monday, rather than only the Friday itself.
No. You can set up Google Ads conversion tracking without GTM, and GTM gives more flexibility if you manage several tags. Some Shopify tracking apps work with a Google Ads ID, a GTM container ID, or both.
You can, but make sure the same purchase isn’t sent twice. Pick one source for each conversion, and check in preview mode that the purchase fires only once.
Aim for two to three days before the sale starts. Use that window for final test orders and monitoring only, not new features.
